AI Room Decor Workflow: From Measurements to Final Layout
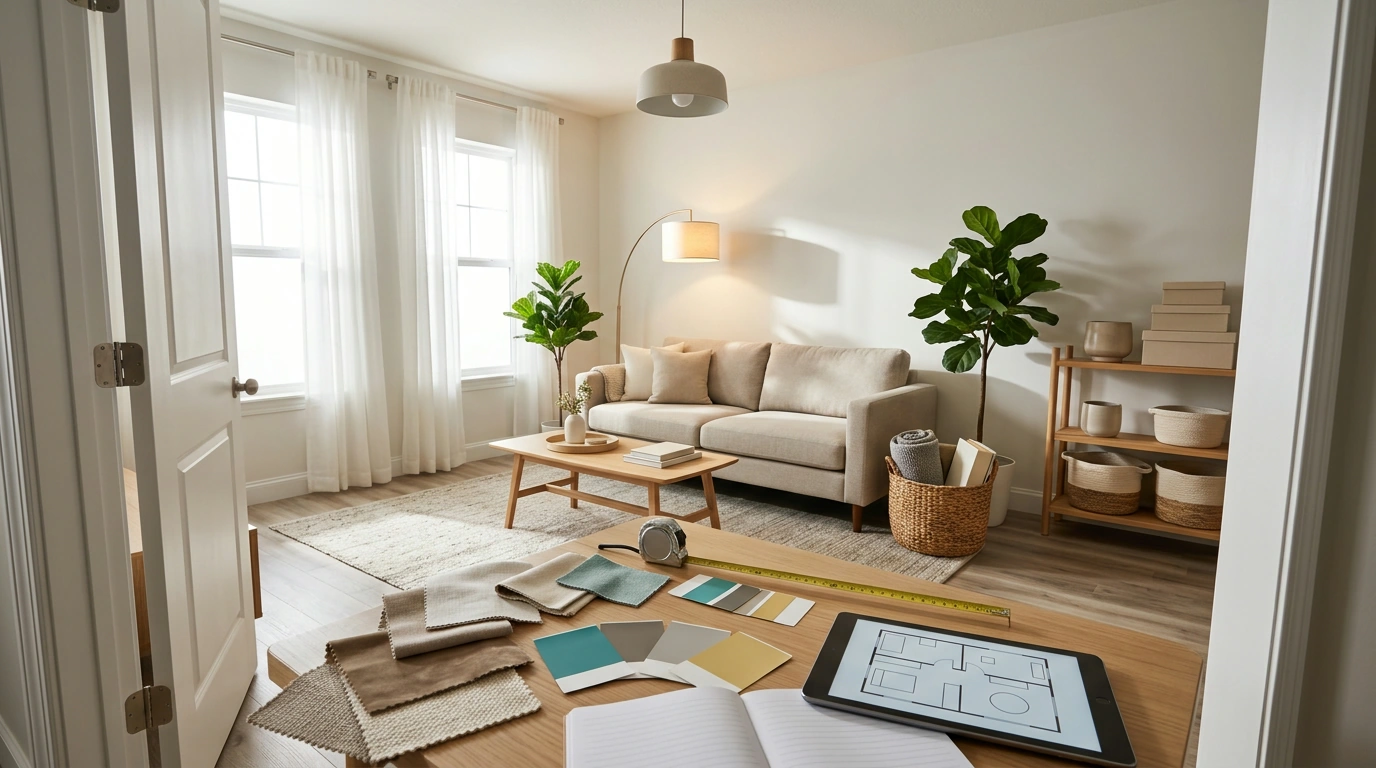
Smart Spaces with Style: Using AI to Decorate a Room from First Idea to Final Layout
AI tools can speed up interior styling decisions without sacrificing personality. The key is a workflow that turns scattered inspiration into a coherent plan: define what the room needs to do, capture accurate measurements, explore multiple style directions quickly, and convert the best option into a practical layout plus a buy-and-place checklist. The steps below work for renters, homeowners, and anyone refreshing a single room without overspending.
Start with a Clear Room Brief
Before generating any ideas, decide what “good” looks like for the room. A clear brief keeps every suggestion grounded and prevents a beautiful concept from turning into an impractical space.
- Name the room’s primary job (sleep, focus, hosting, play) and a secondary job (storage, workout corner, reading nook).
- Set constraints: rental-friendly rules, must-keep furniture, pet/kid durability, and any accessibility needs.
- Pick three style descriptors (for example: “warm minimal,” “coastal modern,” “vintage eclectic”) to keep decisions consistent.
- Define a success checklist: better lighting, more storage, clearer pathways, or a more cohesive color story.
Capture Measurements and Real-World Inputs
AI-generated concepts get dramatically more usable when you supply real dimensions and a few “non-negotiables.” Consistent measurement units matter—if you mix inches, centimeters, and approximate guesses, your layout will drift. For measurement consistency standards, see the NIST Guide to the SI.
- Measure room dimensions, ceiling height, door swings, window sizes, and outlet locations; note radiators, vents, and other immovable features.
- Photograph the room in daylight and at night to spot glare, shadows, and where lighting upgrades matter most.
- List what stays, what goes, and what can be repurposed (a rug moved to another room, a dresser becomes a media console).
- Create a quick inventory with approximate sizes so you don’t choose pieces that look great digitally but don’t fit.
Room data to collect before generating design options
| Input | Why it matters | Quick tip |
|---|---|---|
| Room length/width/ceiling height | Prevents overcrowding and helps scale furniture | Measure twice; note inches/centimeters consistently |
| Doors/windows and swing direction | Protects walkways and avoids blocked openings | Mark swing arcs on a sketch |
| Power outlets and lighting points | Guides lamp placement and cable routing | Note outlet height and location from corners |
| Existing furniture dimensions | Keeps AI concepts realistic | Measure width/depth/height for each piece |
| Photos at multiple times of day | Improves color and lighting decisions | Include one wide shot from each corner |
Generate Style Directions Without Losing Cohesion
Instead of endlessly tweaking one idea, create a small set of distinct concepts up front. Comparing concepts side-by-side makes your preferences obvious (and reduces second-guessing later).
- Create 3–5 distinct concepts early (color palette + material mix + key statement piece).
- Use consistent anchors across concepts: the same measurements, the same keep items, and the same function priorities.
- Request variations that change only one variable at a time (swap rug pattern, change wood tone, adjust wall color) to learn what truly improves the space.
- Save outputs in a shortlist folder and rate them by comfort, practicality, and maintenance.
Turn a Concept into a Layout That Works
Once a direction is chosen, shift from “pretty pictures” to a plan you can live with. A functional layout is mostly circulation and scale—then style gets layered in.
- Prioritize circulation: keep main pathways clear and avoid placing bulky items where they pinch entries or corners.
- Place the largest item first (sofa, bed, dining table), then add supporting pieces (side tables, storage), then styling layers (art, textiles).
- Balance visual weight: distribute dark or large pieces across the room so one side doesn’t feel heavy.
- Plan focal points intentionally (feature wall, headboard moment, styled shelf) so the room doesn’t compete with itself.
Build a Color and Material System (So It Doesn’t Look Random)
Rooms feel cohesive when they follow a simple “system” rather than a pile of one-off favorites. The goal is repetition with just enough contrast to stay interesting.
Make Lighting the Fastest Upgrade
When comparing bulbs, pay attention to color rendering (how accurate colors look under that light). The CIE is a primary authority on color and light metrics, and the U.S. Department of Energy offers practical LED guidance for home use.
Translate the Plan into a Shopping and Styling Checklist
Common Pitfalls and Quick Fixes
A Step-by-Step Digital Guide for Interior Styling Enthusiasts
- Smart Spaces with Style | AI Home Design Guide (digital download) for a structured, start-to-finish workflow built around AI-assisted room styling.
- How to Use AI to Discover Your Personal Values — AI Guide to Unlock Your True Priorities if decision fatigue is the biggest obstacle (getting clear on priorities makes editing your design choices much easier).
- How to Use AI to Plan Family Activities for households where a room needs to flex between everyday living, hosting, and kid-friendly downtime.
FAQ
What room details should be ready before using AI for decorating ideas?
Have room dimensions, ceiling height, doors/windows (including swing direction), outlet locations, and photos taken in both daytime and nighttime lighting. A keep/remove list and basic furniture measurements help ensure ideas are realistic and fit your space.
Can AI help if the room is small or rental-friendly changes are required?
Yes—define constraints like “no drilling,” removable wallpaper only, and lighting swaps that don’t require rewiring. Use layout testing to protect circulation, then focus on high-impact, low-commitment upgrades like textiles, lamps, and vertical storage.
How many design options should be generated before choosing a direction?
Generate 3–5 distinct concepts, then refine by changing one variable at a time (like rug pattern or wall color). Save a shortlist and score each option for function, comfort, and upkeep so the winner holds up beyond the first impression.







Leave a comment