AI Photo Editing Workflow: Enhance, Retouch, Transform
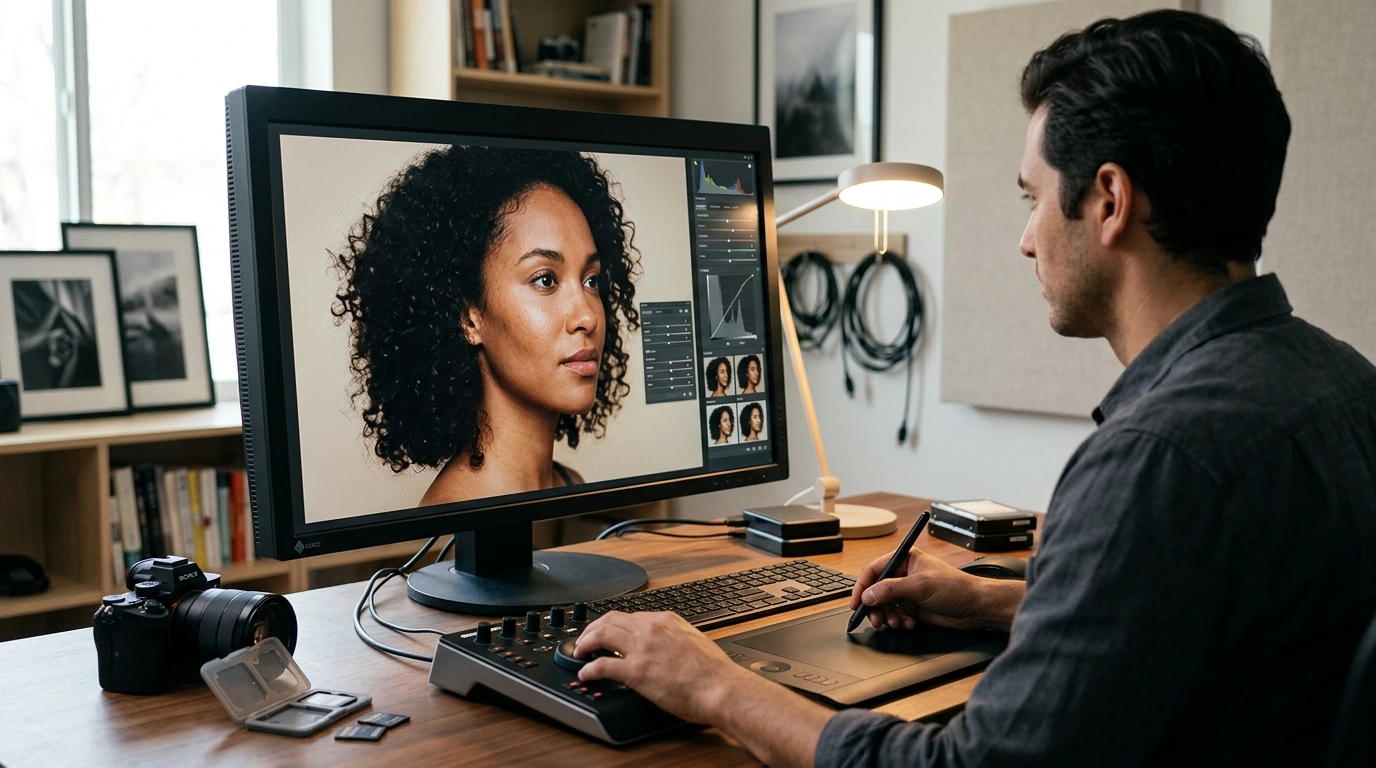
What AI Can (and Can’t) Do in Photo Editing
AI-powered editing can feel like magic the first time it nails a tricky fix in seconds. The best results come from using AI where it’s strongest—fast technical improvements and smart selections—while keeping the creative direction in human hands. For more guidance, see How photo editing in social media shapes self-perceived ….
Where AI shines
- Enhancement: automatic tone, color, dehaze, noise reduction, and sharpening to quickly improve most photos.
- Retouching: skin smoothing, blemish removal, subtle teeth/eye adjustments, and background cleanup using selective masks.
- Transformation: object removal, background replacement, sky swaps, generative fill/expand, and stylized looks.
Where AI still struggles
- Odd hands/fingers or confusing anatomy in generated areas.
- Warped text and logos, especially in expansions or replacements.
- Inconsistent reflections (glasses, windows, glossy products).
- Artifacts around hair, lace, fur, or fine edges.
A reliable rule: let AI handle repetitive technical fixes; keep the big creative decisions manual (crop, mood, and final color grading). For further reading, see Heavily editing photos in ‘unnatural’ ways – General.
| Editing goal | AI feature to try | Best used for | Watch out for |
|---|---|---|---|
| Fix underexposed photos | Auto tone / relight | Indoor, backlit portraits | Over-bright skin highlights |
| Reduce grain | AI denoise | Night shots, high ISO | Plastic-looking detail |
| Remove distractions | Object removal / inpainting | Cables, signs, passersby | Repeating patterns, smears |
| Improve subject separation | AI masking / subject select | Portraits, product photos | Hair halos, missing edges |
| Expand the frame | Generative expand | Social crops, banners | Perspective mismatch |
A Reliable AI Editing Workflow (From Import to Export)
Consistency matters more than fancy features. A simple, repeatable order of operations prevents overprocessing and keeps your final images crisp, believable, and easy to revise.
- Start with the best file: RAW when possible. If you’re working with JPEG, avoid repeated re-saves to reduce quality loss.
- Step 1 — Global cleanup: set white balance, exposure, contrast, highlights, and shadows before touching retouching tools.
- Step 2 — Noise reduction and sharpening: denoise first, sharpen last. Evaluate at 100% zoom so you’re not guessing.
- Step 3 — Composition: crop/straighten, then fix lens distortion and perspective (especially for buildings and product shots).
- Step 4 — Selective edits: use AI subject/background masks for targeted brightness, color, and clarity adjustments.
- Step 5 — Retouch: spot heal, remove flyaways, soften skin conservatively, and preserve texture.
- Step 6 — Transformation edits: remove objects, replace backgrounds, and expand canvas while keeping light direction consistent.
- Export smart: sRGB for web, high-quality JPEG/PNG for sharing, and keep an editable master copy for revisions.
For a deeper, step-by-step sequence that’s easy to repeat across portraits and product photos, see Picture Perfect: Ultimate Guide on How to Use AI for Image Editing – Enhance, Retouch, and Transform Your Photos.
Enhance: Lighting, Color, and Detail Without Overprocessing
AI auto adjustments are excellent at finding a “good enough” baseline. The polish comes from small manual tweaks that keep skin, fabric, and natural textures looking real.
- Use auto as a starting point: accept the suggestion, then fine-tune exposure and your black/white points so contrast looks intentional, not harsh.
- Correct color casts: use white balance tools and confirm skin tones look natural under mixed lighting (window light + indoor bulbs is a common trap).
- Denoise gently: compare before/after on textured areas like hair, foliage, denim, and knit fabric.
- Sharpen for the output: portraits typically need a smaller radius and lighter touch; landscapes can handle a bit more micro-contrast—avoid “crunchy” edges.
- Upscale only when necessary: great for tight crops and larger prints, but watch for invented micro-details or faint halos along edges.
- Build consistency: save presets or profiles after a few successful edits to reduce rework across a batch.
When learning what each AI tool is actually doing under the hood, it helps to reference official documentation like the Adobe Help Center.
Retouch: Natural Portrait Fixes with AI Assistance
Good portrait retouching is mostly restraint. The goal is “refreshed,” not “re-rendered.” AI speeds up the mechanical parts, while you decide what stays for personality and realism.
Transform: Remove, Replace, Expand, and Restyle While Keeping It Believable
Common Mistakes and Simple Fixes
For quick mobile edits and color-space basics, the Google Photos Help pages are a useful reference point.
Tools and Practice Plan for Faster Results
If your work includes automations, naming conventions, or batch processes, pairing your editing skills with practical AI tool fluency can help—see Coding with Confidence in the Age of AI – Ultimate Digital Guide for Developers.
Get the Complete Step-by-Step Guide
For a more detailed walkthrough—covering enhancement, retouching, and transformation workflows with repeatable steps—see the full digital guide: Picture Perfect: Ultimate Guide on How to Use AI for Image Editing – Enhance, Retouch, and Transform Your Photos.
FAQ
Which edits should be done before using AI retouching tools?
Handle global fixes first: white balance, exposure, and basic contrast, then apply denoise. Crop/straighten next, and save sharpening and final styling for the end.
How can AI edits look natural instead of “plastic” or overprocessed?
Lower the effect strength and apply changes selectively with masks rather than globally. Preserve texture, and compare at both 100% zoom and fit-to-screen to avoid uncanny details.
Is AI upscaling safe for printing photos?
It’s often safe for modest size increases, especially for photos without fine text or tight repeating patterns. Check edges and detailed areas for artifacts and, when quality matters, test-print a small section first.





Leave a comment